Clubman Estate Part 1
I bought the shell in the 70's from Willingham Car Spares in Hull, with the intention of building a smart dual purpose vehicle, from the best bits I could find. The first job was to painstakingly strip the paint to bare metal and then Bondaprimer the whole thing by brush. As I have said elsewhere, it has been nearly finished on a few occasions, but I keep nicking parts off it for other projects.
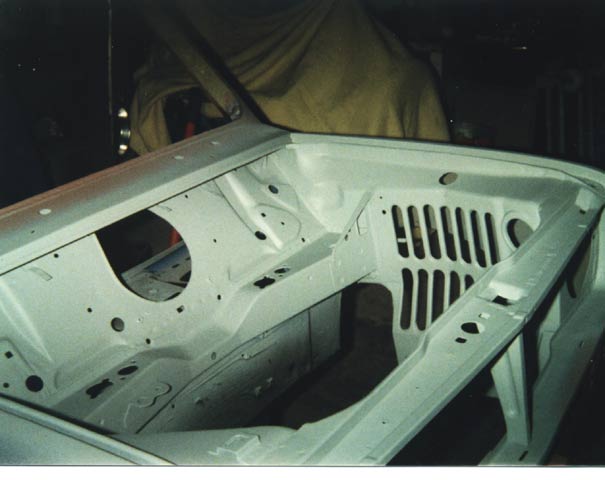
This was the primered engine bay in the late 70's
The real turning point came in late 2000, when I bought all of the parts from a written off 1999 Sportpack Cooper to build into it.
|
|
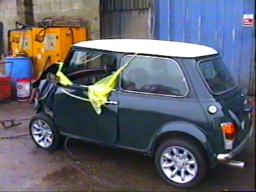
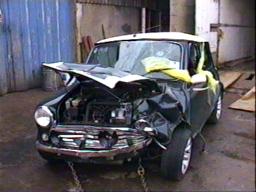
Sorry about the picture quality but I grabbed them from a video. One thing I have only just found out (Feb 2015) is that this was one of only 301 John Cooper LE models made. I found this out from an excellent new site for the last of the breed. The site can be found at http://www.thelastminis.com and has lots of history and info about the very last (mk7) MPI Minis, well worth a visit if you interested in these wonderful cars. Just looking again at those pics of the damaged car - without modern crumple zones on a shell which was designed in the mid to late 50's, it's quite amazing how little damage occurred to the passenger compartment and its occupants.
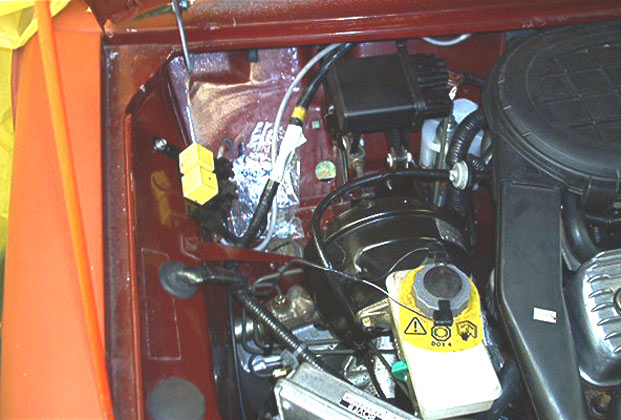
When I embarked on this conversion, I decided that the best way to tackle it was to fit everything into the primed, but unfinished shell, making any mods and cutting extra holes as I went along. I would like to actually get it running and driving and possibly MOT'd, before I strip it again to properly paint the shell and fully waxoyl the whole thing. This might appear to be a long winded process, but at least I will not have to start chopping lumps out of a freshly painted shell. It's quite amazing how much stuff actually fits in the same holes as original, but there have also been a great many modifications done in the intervening years. Things like ECU's and Injection systems were almost non-existent.
I have had to make the necessary brackets to fit the front mounted radiator onto the front sub-frame and also to attach the radiator top to the body. The Clubman is obviously very different in that area. Another item needing attention was the radiator header tank, so brackets were made for that.
|
I also had to make a fan bracket, as the original was smashed into tiny pieces, but miraculously the motor and blade had survived!
|
The engine ECU also required repositioning as the Clubman inner wing is shaped differently. This also involved heating and re-shaping the drivers side air duct.
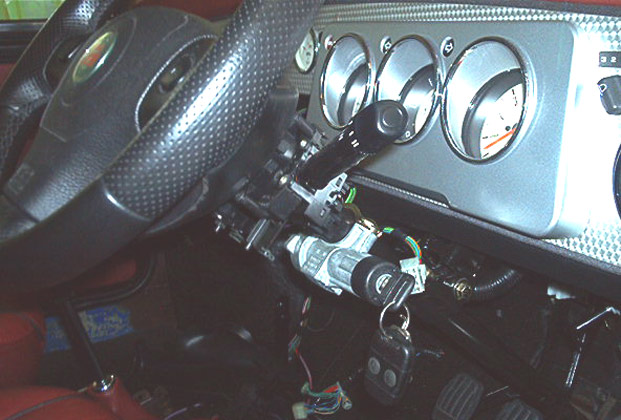
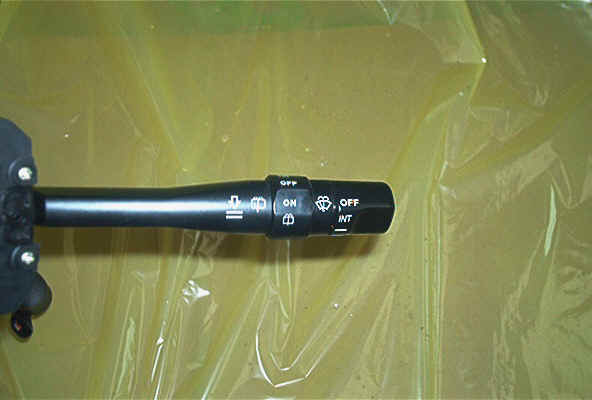
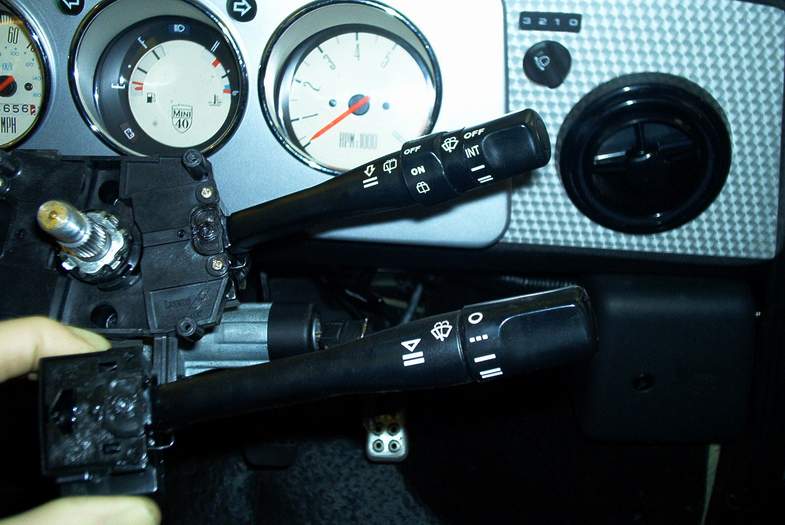
I wanted to fit a rear wiper onto the one piece door, and looking at the Cooper switchgear, it appeared identical to that on Christine's Civic. On one visit to my breaker friend, I found a V plate Civic, which was for dismantling. I bought the wiper switch and a short piece of loom , so that I could have the rear wash/wipe on the same stalk. It fitted in exactly the same slot that the Cooper switch had been fitted, and even the connector from the rear wash wipe, fitted into the original space on the old switch.
|
|
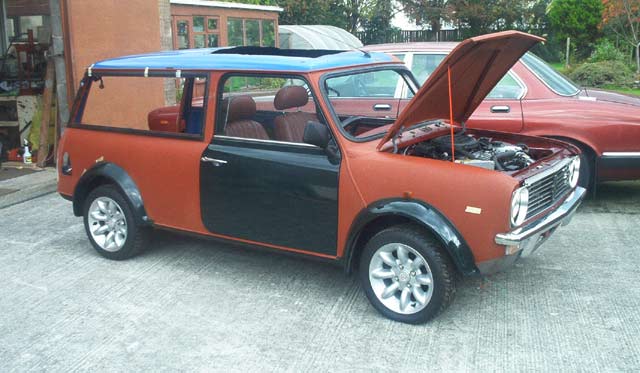
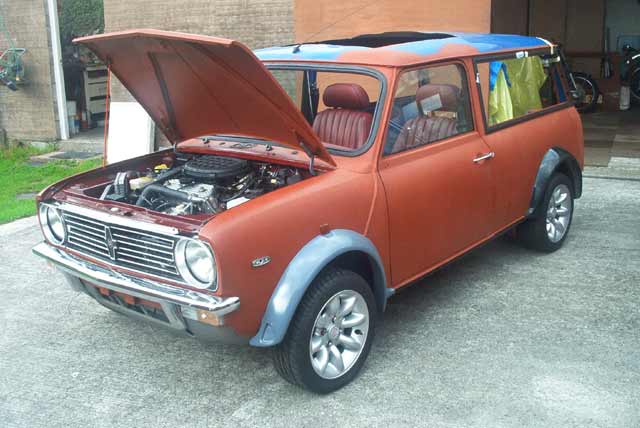
This is the first time the shell has been self propelled

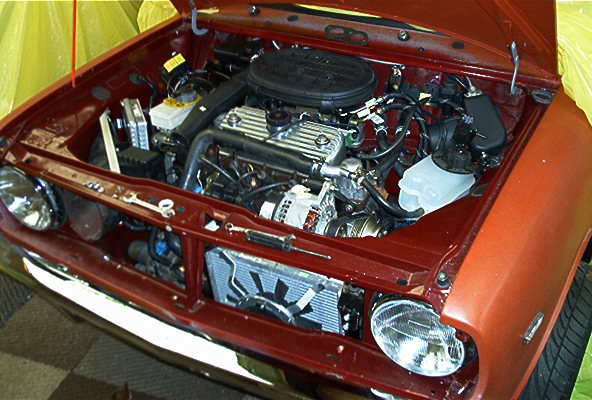
The Clubman has a little more room in the engine bay - but I have now filled it with the Twin-Point injection lump and all of the ancillaries. I have used the adjustable level headlight system from the later cars, which might prove even more necessary on an estate. The bumper, under-riders and sidelight units are all new, but they have been in a cupboard in the garage for 15 years!
The Sportpack arches will need a bit of tinkering with - I'm undecided about filling in the small recesses at the lower front edges or perhaps to fit some small spot-lamps there.
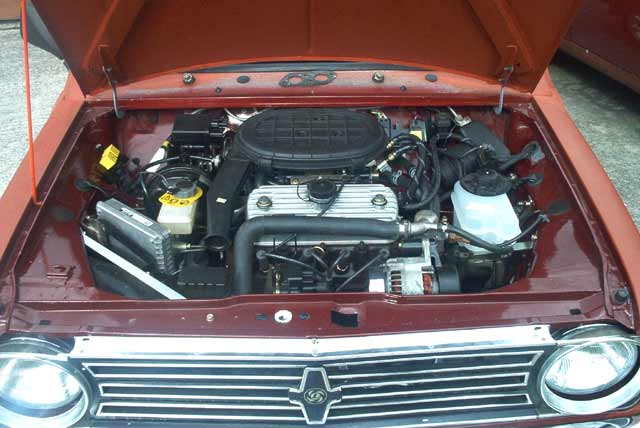
The ECU has been re-positioned and the fuse-box ends up a little more towards the centre, which meant having to lengthen one of the wires by soldering and heat-shrink sleeving.
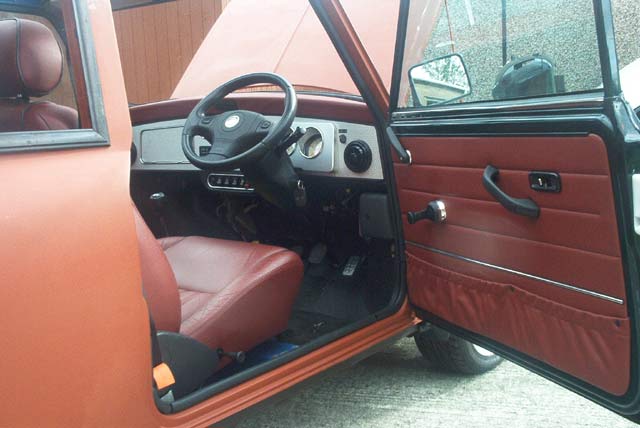
Standard Sportpack Cooper interior, but with an empty airbag!
Part 2 - It's finished!
Part 3 - replacing the rubber suspension cones
Part 4 - problems with the rear adjustable suspension
Part 5 - an alloy 52mm Throttle body