1983 Honda C 50 LAC
Part 2
Well Brian has now got his C90 virtually finished and we took it for MOT a couple of weeks ago, which has rather put my efforts on the C50 to shame. So I have started work at last. I had intended right from the start that I would try to keep as much as possible of the original bike. The first part of the process was another photo session - including as many details of wiring, clips, brackets etc. as possible This was followed by a very detailed strip-down, again taking numerous pictures as work progressed. I have always been impressed with the engineering on Hondas and this little workhorse is no exception. Very well engineered and thought out, when I compare it with a Triumph Tiger Cub that I am also restoring.
All of the cycle parts have been stripped, again with numerous photos being taken. I had to make a special tool to remove the front fork 'top nut'. The only casualty so far is the centre stand pivot tube, which was well seized into the stand, but a few seconds with a thin cutting disc in the angle grinder soon had the stand out of the main-frame. I had to get the stand very hot with the oxy-acetylene to free the pivot tube on the press, but it came away eventually. I think I might just make a new pivot, but from the solid with a grease nipple in one end feeding two separate bearing areas. There is very little corrosion to deal with but I will have the main-frame, fork, swing arm and a few other small bits sand-blasted prior to painting. I have stripped the wheels so that I can get the rims re-chromed, even though this is a more expensive option than buying new Honda wheels. There is very little other chrome to do, but all of the bolts, nuts and washers are away now at the zinc platers, so that will spruce it up a bit.
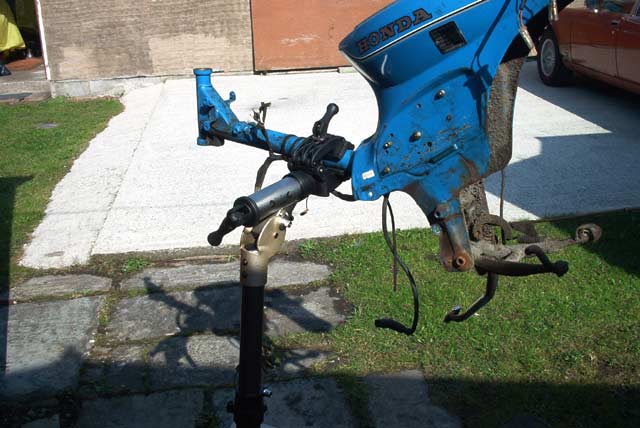
Just the wiring loom and a few other bits to remove from the main-frame. At this stage the cycle work-stand came in very handy
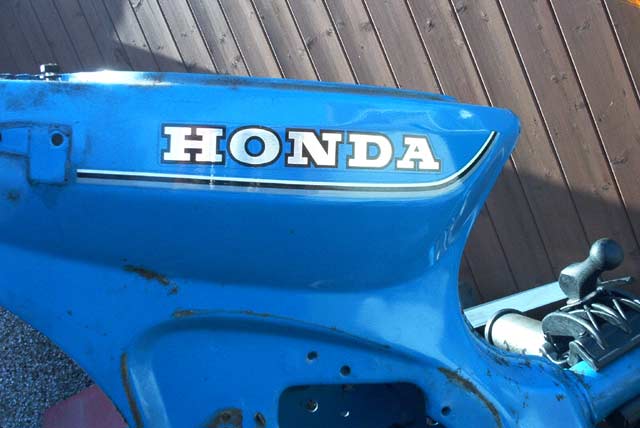
This shot of the right hand side of the frame was taken so that the decals can be re-positioned in the right place after painting.
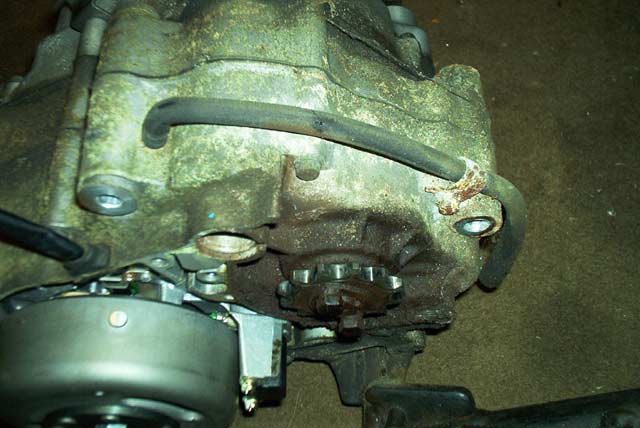
View of the crankcase breather and clip, as well as the final drive sprocket. At this point, the footrest/sidestand bar is still bolted to the underneath of the engine unit.
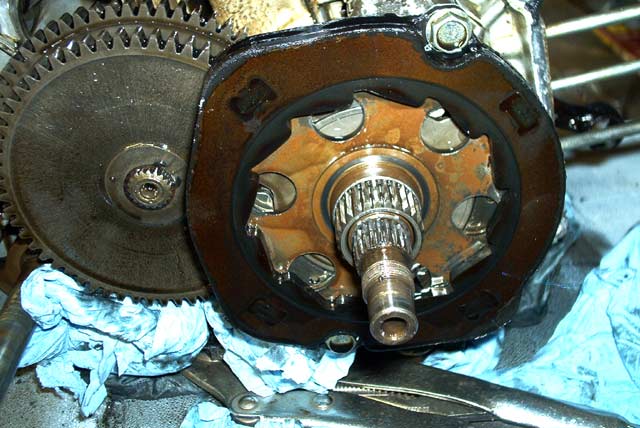
I have made an extractor to remove the alternator rotor. I measured it to be 28mm o/d with a 1mm pitch and has a left hand thread, which proved to be a nice little screw-cutting job on the lathe. I often send these little home made tools to the zinc platers when I am doing other stuff, it makes for quite a nice collection of specialist extractors. The centre thread of the extractor was drilled and tapped 1/2 inch UNF, purely because I had taps of that size and a new high tensile bolt! The bolt end was turned almost to a point in the lathe, so that it would fit the end of the crank-shaft. One good aspect of UNF threads is that they are of a finer pitch than the corresponding metric sizes, and therefore provide the high wedge angle forces required for extracting tapers.
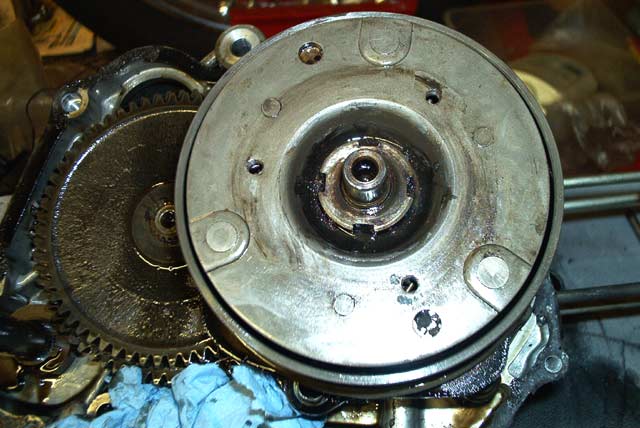
With the outer cover removed, the sludge trap plate was removed next to expose the slotted nut that holds the clutch drums in place. I turned a piece of tubing in the lathe and slotted the end to fit this nut, which was rather tight.
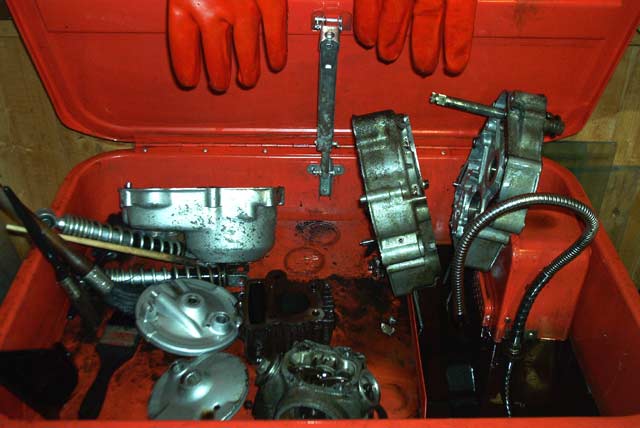
Some of the bits in the cleaning bath; the crank-cases are bare alloy, and will be just cleaned up, but the side cases and brake plates are painted. These will be stripped and re-painted with silver 'Smoothrite' spray, which is a passable copy of the original big H finish.
I have now identified the colour of the bike with the help of RS Motorcycle Paints over in Barnsley. It turned out to be Neptune Blue and they mixed me half a litre of 2 pack and an aerosol for the smaller bits. I called in to their place on my way back from taking the chrome stuff to Prestige Electro-platers in Wombwell. While I am waiting for the plating to be done, there will be some time available to press on with cleaning everything up and collecting the replacement parts and gaskets etc. Robin had had the engine re-bored some time back when it was losing power (power, what power?) The piston was again in a poor state, showing signs of partial seizure and the bore looked as if it had been machined with the rough end of a revolving pineapple. On checking the sizes, the bore had been machined without sufficient clearance. I am not sure yet whether I will re-bore and replace the piston, as there is a freshly re-bored barrel and new piston on EBAY, which might come my way. There is very little other measurable wear on any of the other components, even the three sets of clutch linings are well within tolerance and will be used again. There is no discernable wear in any of the bearings, so my original idea of keeping as much as possible seems to be on track.