Honda 550 Four Part 7
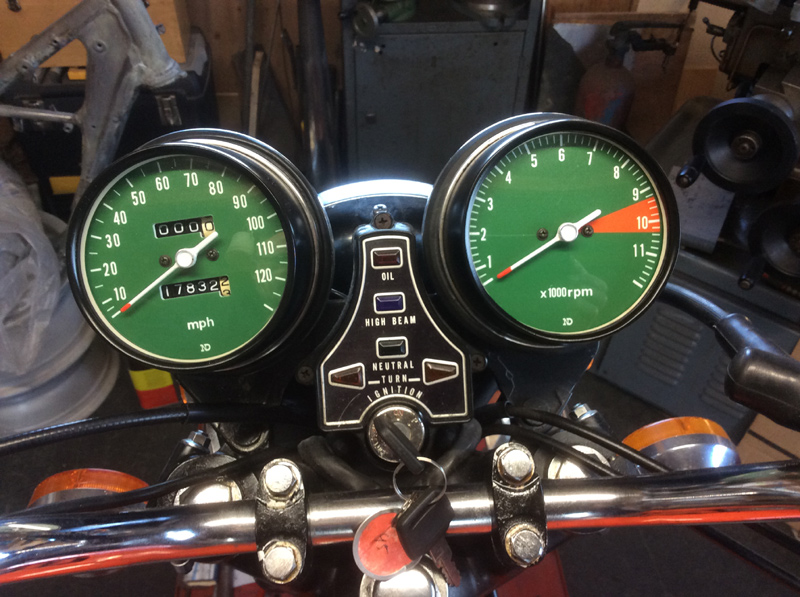
I finished re-assembling the rev counter which was quite badly dented on the outer case but thankfully the glass was intact and it worked! Again, a new face and repainted needle tip went in. I made some metal formers to use as dollies to ease out most of the dents on the case but it still needed a thin skim of filler to get the shape just right. This was followed by etch primer, grey primer and satin black - all Upol products. My rig for re-crimping the stainless ring worked just as well on this tacho as it did on the speedo without the need for any mods. The chrome dish, although not dented has a few rusty areas but I'll treat those and leave it like that for now - a better one might turn up sometime and they are not that difficult to fit without too much other dismantling - strangely the speedo dish is near perfect.
The instrument bracket might need a bit of straightening and the bar clamps tidying
I eventually gave up on Honda for a 'date of manufacture' certificate as many knowledgeable folk on the Forum say that they don't have archived records of machines originally supplied to USA - a pity Honda couldn't have told me that earlier, so that's 3 months wasted and the riding season is rapidly approaching! As a long term member of the VJMC I applied to them instead; within a week had a suitably signed and embossed certificate showing the all important date (the VIN plate shows it clearly!) to send with all the other paperwork plus the fee, to DVLA so it's just another waiting game now! In the 'good old days' you just took the MOT'd machine along to the Local Vehicle Registration Office (LVRO) for inspection and providing all was in order a number was issued in a few days, followed very quickly by a new V5 - that's progress folks! If all is well under this 'new improved' system (just like washing powder - hell, that stuff must have been crap when we were kids!) it should end up with an age related 'N' suffix 1975 registration number and I'll get a polished black and alloy plate made up for it by Tippers.
So that's another one saved and ready to take to the road again and I'm very pleased with the way it has turned out - not concours by any stretch but should be a good useable classic to enjoy and perhaps improve further as time permits. I still haven't figured out why I keep using money to buy more work though! I know it's easy to say at this stage but I think this will probably be the last restoration/re-commissioning job I'll do - apart from the little Ducati Elite and BSA A10 basket case (those are already 'on the go') in other words, at this age I've no intentions of buying any more projects! There is a chance though, that the GL1500 GoldWing SE might be going soon, to be replaced by a new 350 Forza if all the stars line up!
Having done a few 'house jobs' early one morning, I fitted the carbs on the new intake rubbers and pushed the carbs firmly on. They were so well fitting, I didn't even bother to put the clips on as this was just a test and these carbs will be coming off again very soon for the 069s to be fitted properly. I did fit the throttle cables though to check it up and down the rev range. With fuel well dosed with Redex in the remote container and the crap silencer fitted, it fired up first push and all 4 headers came hot quite quickly. A sharp tap with a hammer handle sealed the float valve on number 2 which is often necessary on rebuilt carbs until everything settles down and I ran it for a while to get everything hot. All gears selected successfully - admittedly only on the stand but there were no nasty noises from anywhere and the clutch was free.
I've also been touching in some of the small marks and rusty spots on the frame just to stop them festering and spreading any further; I scrape the surface with a scalpel and use Jenolite to neutralise the rust, followed by Rustins gloss black applied with a small brush on the bigger areas and varying sizes of wire dipped in the paint for the very tiny chips. It just takes your eye off the marks and shouldn't get much worse in future. I did this almost 20 years ago on my 350/4 and I can now no longer see where I touched it in unless I use a magnifying glass.
Now I know everything is OK, I removed the cam cover and breather chamber to tidy those up. I bought new gaskets recently but didn't remove the covers to possibly end up wasting those if the head had to be pulled because of any problems discovered. I am amazed at the condition of the cam and its cover - the original dullness on the cam lobes has not been completely polished by the rocker pads and the upper bearing surfaces of the case are as new. It certainly looks like a great engine and with regular oil and filter changes, ought to stay that way. The rockers and shafts were easy to remove and it was soon stripped of the remains of the paint and thoroughly cleaned. The usual coats of Silver Smoothrite spray were applied and then it was left to fully harden before it was time for reassembly with all of the bolts and screws newly zinc plated. New gaskets fitted torqued down and tappets set, I fired it up again just to check everything was fine.
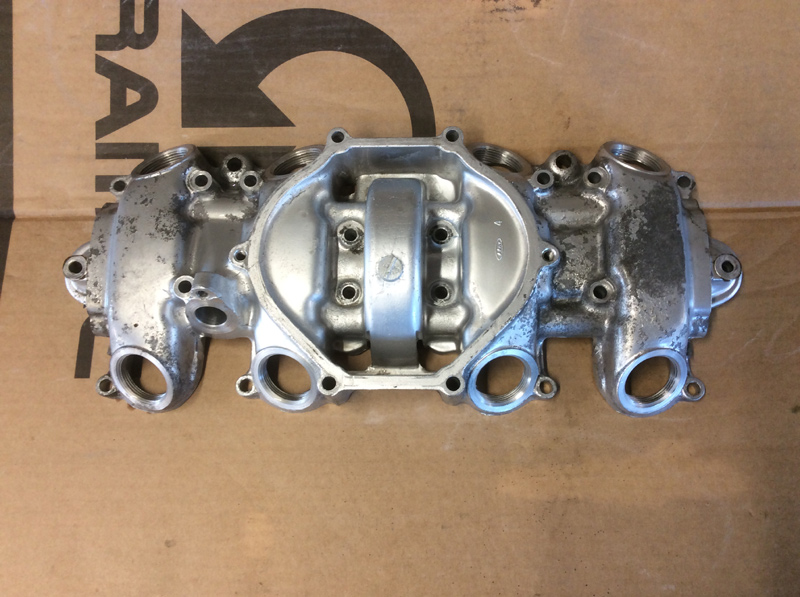
As removed and stripped of rockers
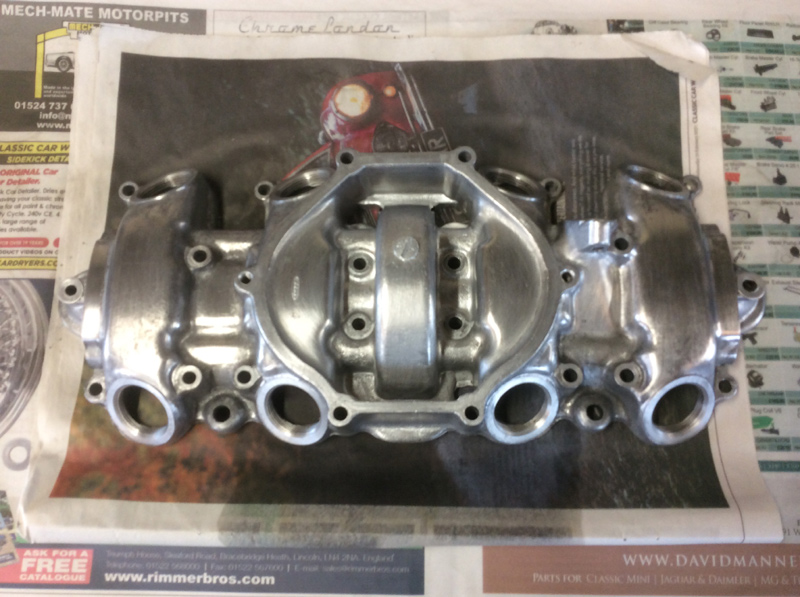
Cleaned ready for painting - scotched up but no point in removing well attached paint
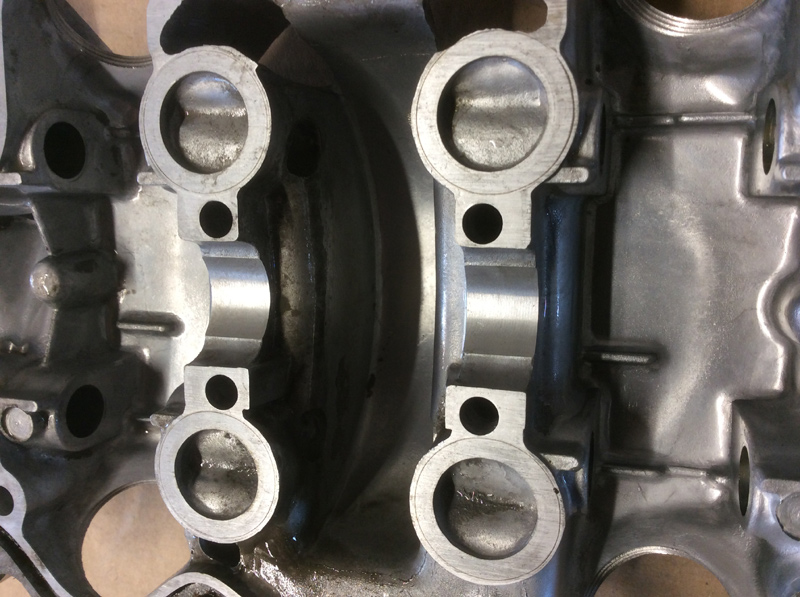
The Journals look as new
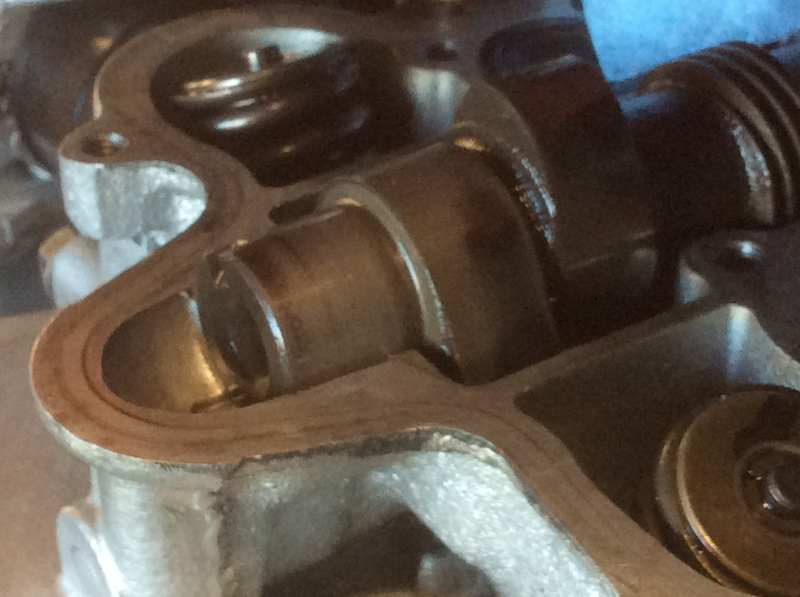
.......as does the cam - not even polished all over
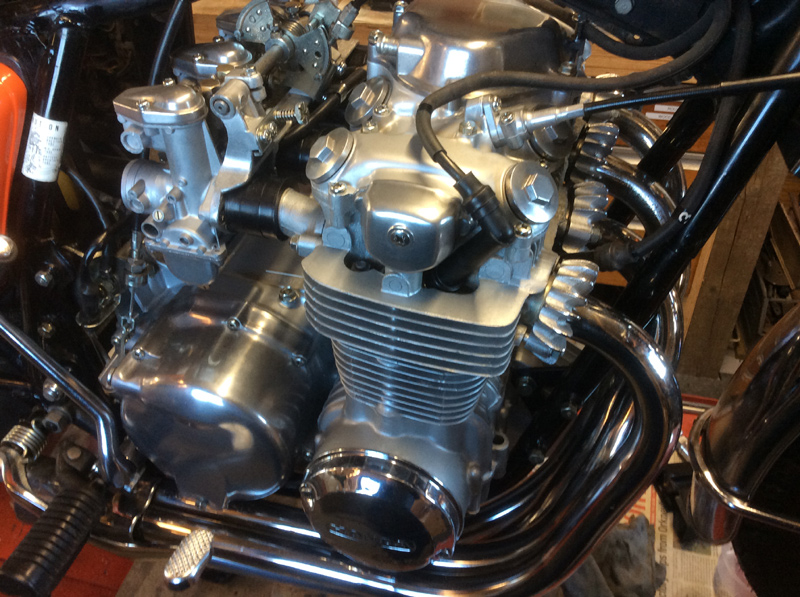
Still a bit more to do but getting there!
Another stroke of luck came recently - one of the Forum members has an original silencer he is willing to part with; it's by no means perfect but will certainly be good enough for now and infinitely better than the one that came with the bike. There is another possibility that I can get a pair of aftermarket silencers by Marving which have a Y piece so that a set of 500 headers will make a 4 into 2 system. OK, non standard, I know but more pleasing to look at on the otherwise bare left hand side of the bike.