1989 JAGUAR XJ-S V12
Refurbishing XJ-S front brake calipers
In view of the fact that this car had only travelled about 300 miles in the last 13 years, I wanted to remove and refurbish all of the brake calipers to make sure everything was as good as it could be to slow down such a heavy car. It's all quite straightforward stuff to remove but on the XJ series there are shims between the steering arms and caliper bolt holes - easy to lose and quite a challenge to re-fit if you don't have a centralising tool.
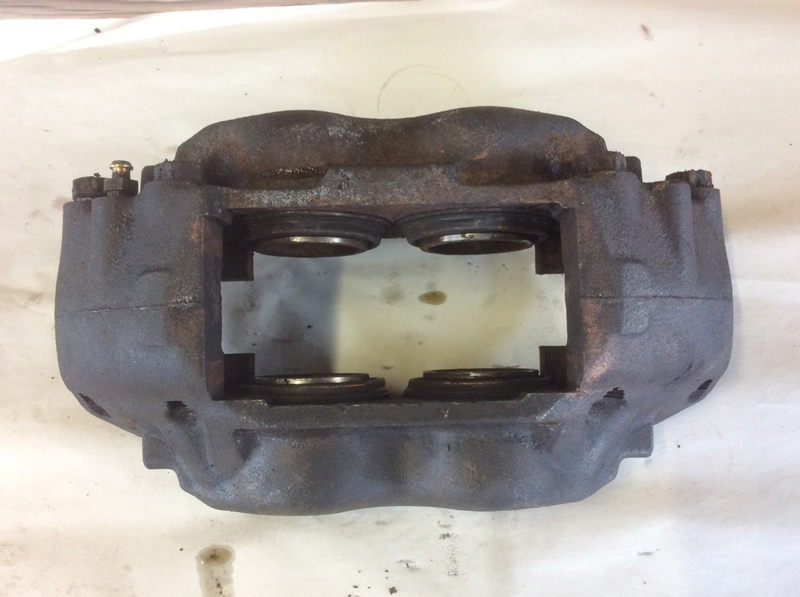
Caliper as removed
Many manuals say you must not split the caliper halves but the small seal on the fluid transfer hole is actually available, so how you would fit it without splitting remains a mystery! I did strip the calipers and bought a full kit from Frentech which comprised of 8 pistons, seals, dust seals, circlips plus bleed nipples and assembly lubricant.
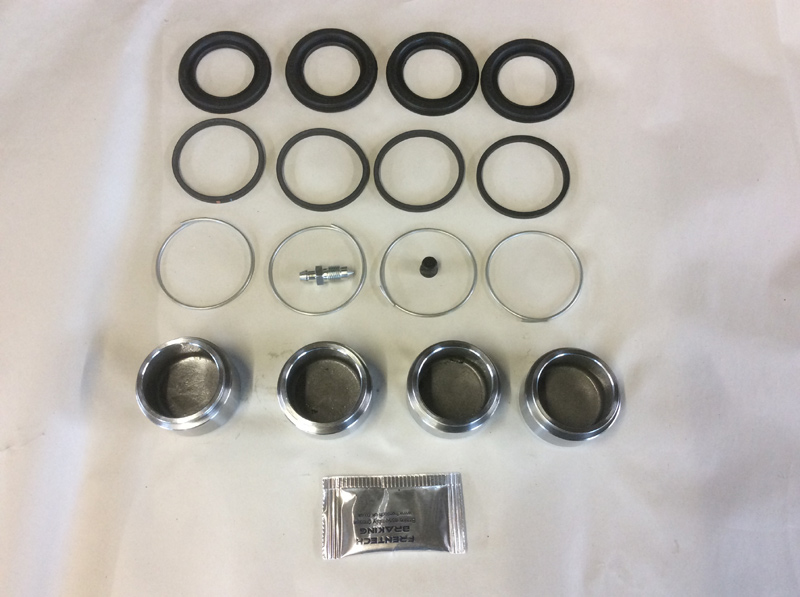
This is just half of the kit from Frentech - enough for 1 caliper
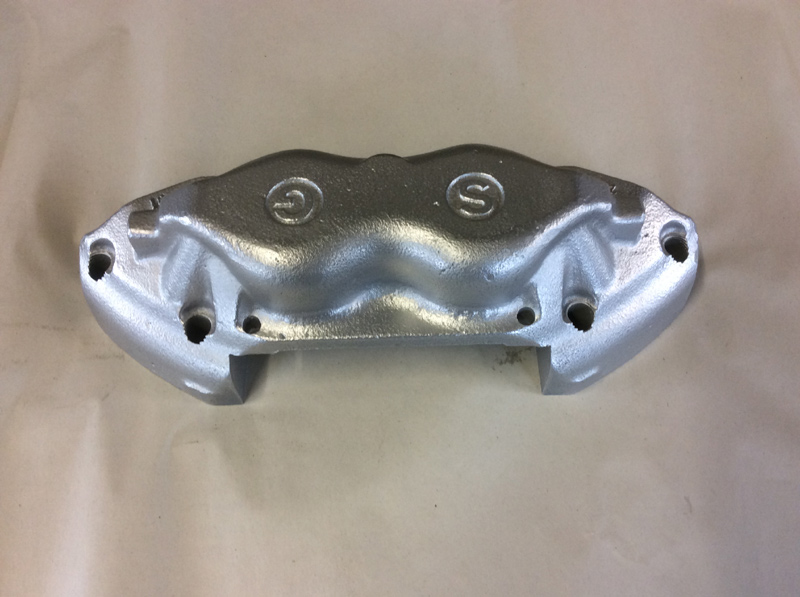
Each caliper half was immersed in heated Deox-C from Bilt Hamber which removes every trace of rust, leaving them looking 'as cast' and ready for the next stage. It's always difficult trying to mask the inside of a round hole but I found a couple of scraps of grey plastic waste pipe which were a good tight fit and could be used as 'handles' while spraying with Electrox - again from Bilt Hamber.
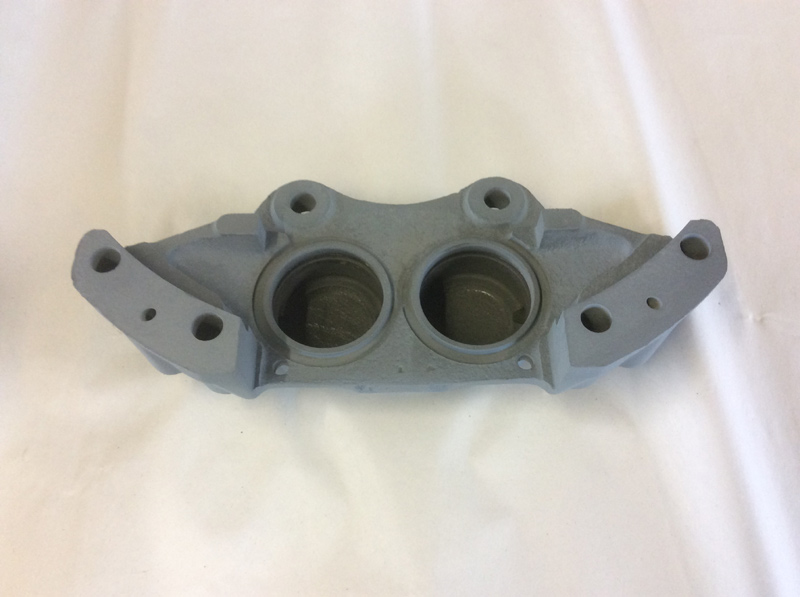
De-rusted and coated with Electrox
On the Mazda MX-5 calipers, which still look great after 3 years I just left them like that but this time I gave them a coat of silver leaf Rub 'N Buff for extra protection. Being carnauba wax based, this might be better than leaving them 'as is'. I don't think the heat should cause any problems - it hasn't come off cylinder head components on the bikes I've done.
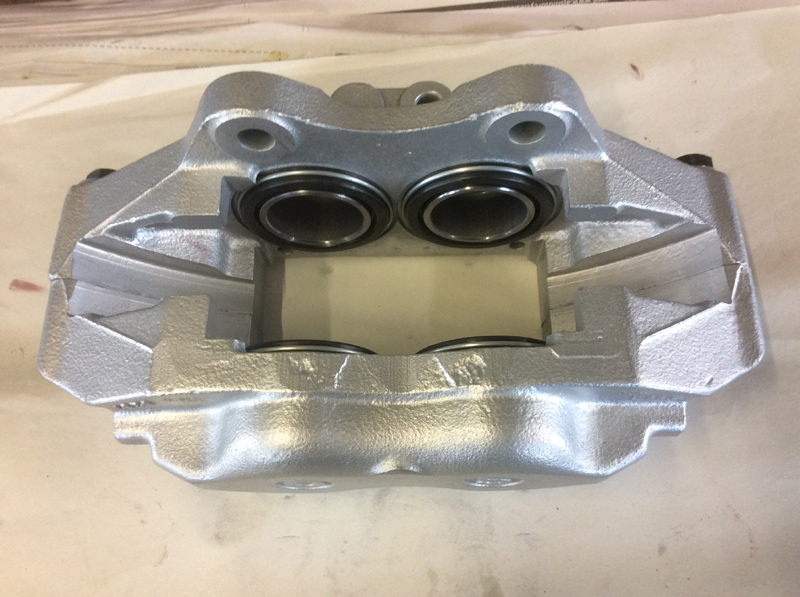
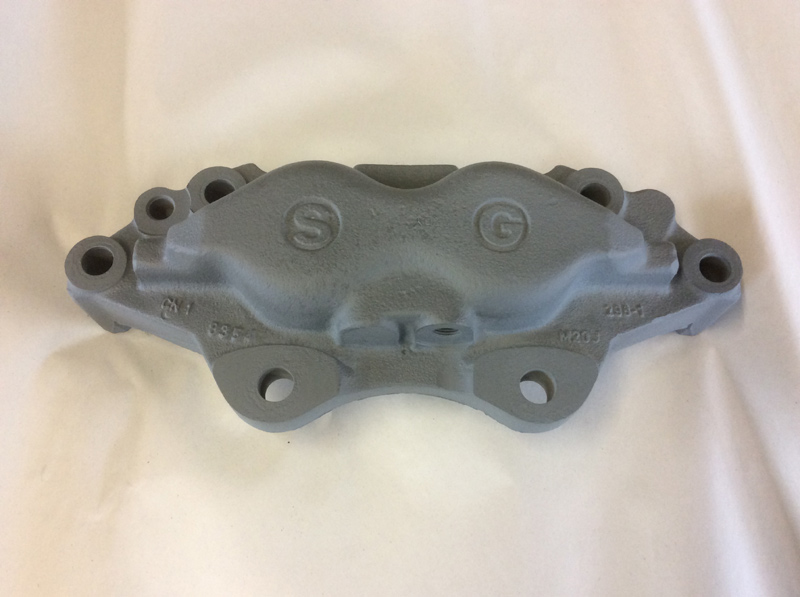
The finished caliper ready for fitting
The 4 high tensile bolts which hold the caliper halves together are not 'stretch bolts' in this application - yes, the forces under heavy braking are high but not excessively so for failure. These bolts cleaned up well and I torqued them as I would any 3/8" diameter HT bolt. 66 to 74 Nm(48 to 54 ft lbs) Reassembly is very straightforward and quite a pleasant task with all new internals. Fitting and bleeding is quite straightforward, not forgetting the shims again!
One very important word of caution when working on any Teves system and also good practice on all hydraulic brakes - when pushing pistons back to replace pads ALWAYS clamp the flexible pipe and undo the bleed nipple to allow fluid out. Not following this procedure pushes possibly dirty fluid back into the valves and cylinders - with possible catastrophic (read expensive) results.