A MODERN DAY GOLD STAR?
Honda GB 400 TT (Part 2)
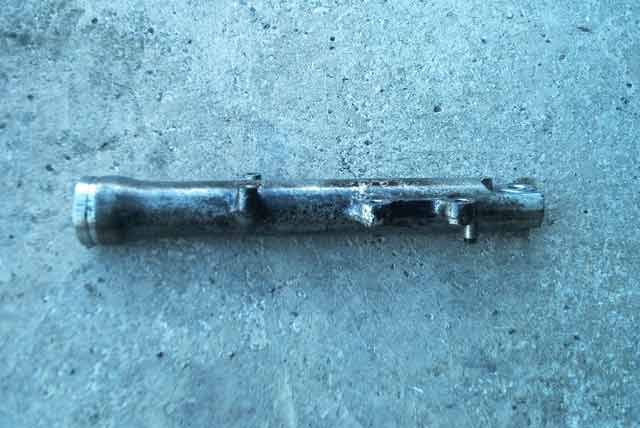
The progress on the bike has been steady, despite the poor weather as I write this in late January 2004. Every time I lift a spanner to it, I am even more amazed at the general condition - no butchered nuts or deep gouges in the alloy bits and not much deviation from standard spec. As I said in the earlier part, the forks are in need of fettling, so that was the next stage. I removed the front mudguard, which has a damaged but repairable stay (more of that later) and the front caliper, which is a dinky twin piston affair and still functional. Out with the front wheel and then the various clips, bolts and allen screws soon had one fork leg removed. I always slacken the fork cap nut whilst the leg is still securely held by the triple clamps - it saves a lot of hassle and potential damage when it is being dismantled in the vice. Not sure what oil had been in the leg but it came out like molasses and stank terribly. Straightforward Honda stuff was removed next, damper bolt, spring, spacers, bushes, seals etc.
This then allowed me to secure the lower slider in the vice ready for polishing. I enjoy this next part, preferring to do it myself from start to finish. I have nothing against sending stuff away to the polishers, but time is money to them and some less careful ones often remove every last vestige of casting mark to get a mirror finish. If you look closely at a brand new Honda slider (I have a couple of 400/4 ones) they were never polished all of the way round and even on the outer visible surface, no attempt was made to polish the areas around the axle hole and pinch bolt. This was for no other reason than the fact that it rips polishing mops to shreds and takes more time.
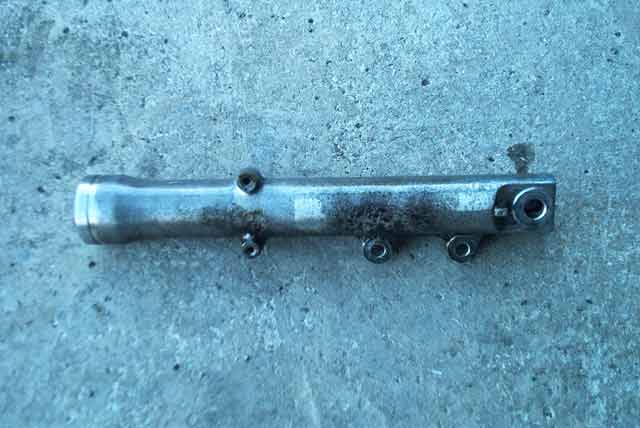
The next stage after cleaning is to rub the whole thing over with scotchbrite. This is a bit like those green pan scrub things that are used by the other half (sexist or what?) They are available in various grades of coarseness from the motor body-shop suppliers. I am using a pack on the roll at the moment of medium grade. If the slider still has lacquer on it, which mine did, then you can quickly remove that with paint stripper (Nitro-mors or the like) remembering to take the necessary safety precautions. After drying off the idea is to clean all of the corrosion from the whole surface initially in any direction you see fit. If the slider (or any other aluminium alloy part) has not been re-polished before, then you will soon see which sections had not been done from new. If there are any minor digs and scratches, these are best tackled now with 150 free-cut paper, but if there is major damage to the finish, then you will have to resort locally, to something more abrasive and follow it up with successively finer paper until you get back to 150. After any rectification, then the final finishing is done with scotchbrite. Don't know about other manufacturers, but the big H finished off polishing around the leg, rather than up and down, and this is how I prefer to leave it. They then applied that famous coat of lacquer, which seemed to be damaged as soon as the wind blew, this in turn allowed water and salt ingress resulting in the usual 'mottled' effect with which we are all too familiar. I would much rather leave the finish 'as is' and give it a good buff with Solvol Autosol, followed by a good wax polish. If you are keen to use your classic in the filthy weather, then lacquering will be the only answer.
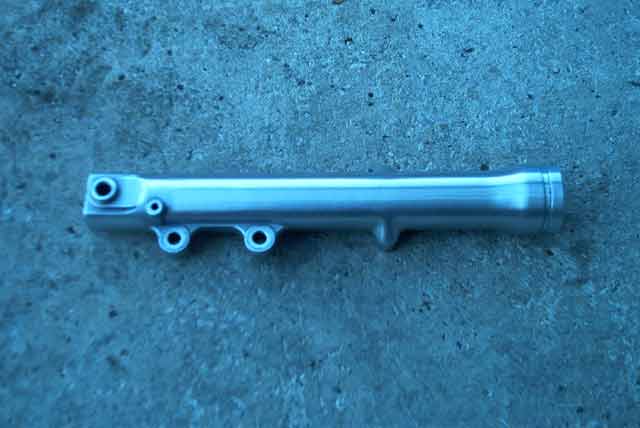
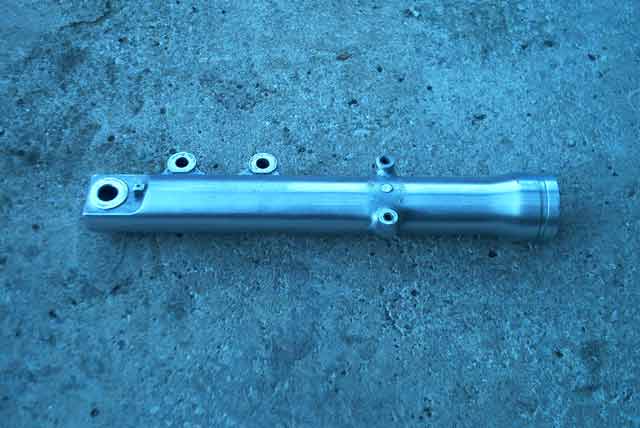
The finished slider before buffing by hand with Solvol Autosol.
From the later pics you can see what I mean about the original finish, especially between the mudguard bracket holes and around the spindle hole. The whole process was done by hand taking less than an hour to do and the result is very rewarding. It was then a matter of washing thoroughly prior to reassembly with new seals, dust covers and gaiters. I found the correct amount of oil from a Jap website about these lovely little bikes. While I had the front end down I checked the steering head bearings and gave the headlamp brackets a good polish too.
February 8th
Still more cleaning and polishing, but I have now decided to treat it to a new pair of tyres, and these were fitted last Friday at TST tyres in Risley near Warrington. I chose a pair of Bridgestone Battleaxe BT45's, as I have been pleased with them before. The other thing that needed urgent attention was the lack of a chain-guard. I thought about making something for the MOT, until I could turn up the correct one. I reasoned, from looking at endless photos, that the plastic one from an XBR 500 would probably fit, as the bike shares quite a few parts with it. Success was swift after searching Ebay and I turned one up from a great guy for £4 (plus postage) This arrived yesterday and fitted straight on - lucky eh? I will have to keep searching for the original, which I think might be a chromed steel one, but for now the plastic one is fine, and I could always paint it bright silver - which, come to think of it would be more serviceable than chrome.