KTM 990 oil filter cover 'upgrade'
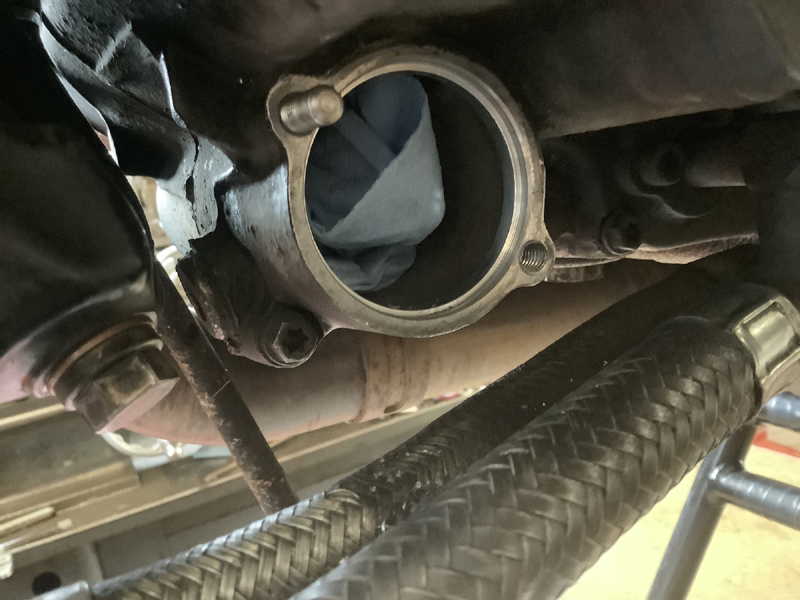
Norman - a friend from Kirkwall asked me recently if I could have a look at his KTM which he felt had a bad thread in one of the oil filter housing cover bolt holes the last time he changed the filter. It wasn't leaking but it had really spoiled his long relationship with the bike as he knew only too well that it would probably bite him at the next service or much worse still might even leak during a ride, possibly depositing oil onto the rear tyre! We did a quick web trawl and it seems that this is by no means an isolated case - one unfortunate owner took his new bike back to the supplying dealer for its very first 600 mile service and even they managed to strip one of the threads! I wasn't too concerned initially about finding a remedy as the chap on the Youtube clip said they were 8mm bolts - but being from 'over the pond' that was the 'wrench' size he was using! The bolts are actually only M5 and as an engineer it would appear to me that this design was too heavily influenced by the company accountant. For a service item like an oil filter cover, M5 bolts with a pitch of only 0.8 mm and corresponding shallow thread depth together with very few threads into soft aluminium alloy has to be a recipe for eventual disaster. There is also very little wall thickness in the casting for a Helicoil, which would have been my preferred method of solving the problem, so I opted for fixed 6mm stainless studs (with barrier paste on the threads) and domed nuts and washers holding the cover on.
I made a jig from 12mm square steel bar clamped across the filter hole using the remaining good thread so that I could drill squarely into the bad thread and then tap the hole M6 x 1. I did the 'good' thread too while I was at it and feel that it should now give no more anxiety when the filter needs changing. I made studs of the correct length and opened up the holes in the filter cover plate to 6.1 mm.
Ready for the second stud to be fitted
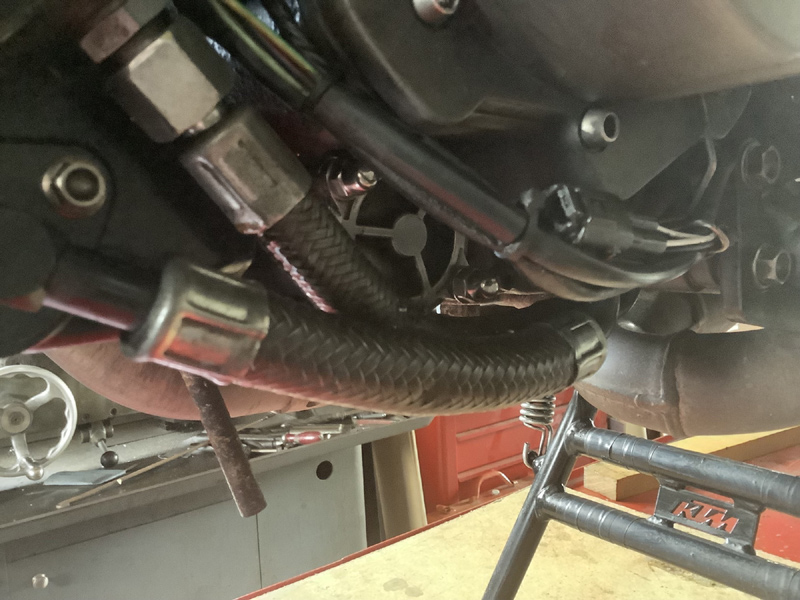
All reassembled and ready to test - not the most accessible oil filter position!
The next time the filter is changed, the studs will remain in situ of course and no undue strain will be placed on the threads in the soft casing as no relative movement will take place. Oil tank pipes back on, oil in, filter fixed in place and then it was time to run it again. I usually like to operate the 'kill switch' and wind the engine over to fill the filter and get pressure up but the designers of this machine thought otherwise - nothing works when the kill switch is operated! This might be some misguided more recent legislation - I don't know. Anyway it fired up and I ran it for a while and then stopped to check the oil level and for any leaks - all seems fine. I hope it rekindles Norman's great relationship with the bike and eventually provides many more memories of far flung adventures.
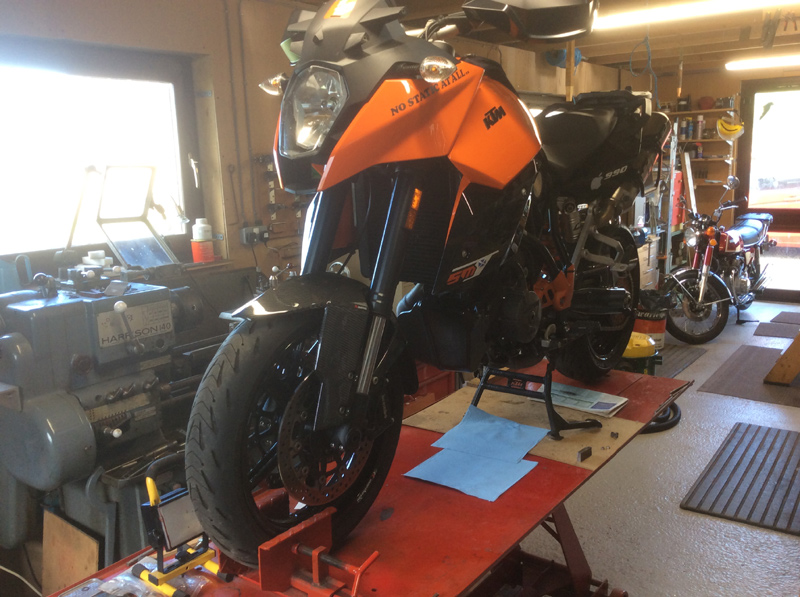
Completed and ready for road test